How to Customize
Beyond our normal build options, there are three additional means of customizing your jewellery when you shop with us:
Engravings
Engrave font text or handwritten names, dates, messages or drawings. Learn more.
Modifications
Modify any of our 3C Flexible Designs nearly any way you want. Learn more.
Original Designs
Work with us to bring an original design into the real world. Learn more.
Engravings
Most of our jewellery can be engraved. If you’re not presented with the option on our online shop, that does not mean it can’t be engraved — it just means you have to contact us. You can either leave a note when you submit a quote request, or, you can reach us in advance.
Engravings are automatically presented as an option in our online shop for the following jewellery. But again, if you’re not presented with the option it doesn’t mean we can’t do it. It just means you have to contact us.
On the inside and outside of all classic wedding bands
On the inside and outside of most plain metal bands
On the inside of most rings with a smooth shank wider than 2 mm
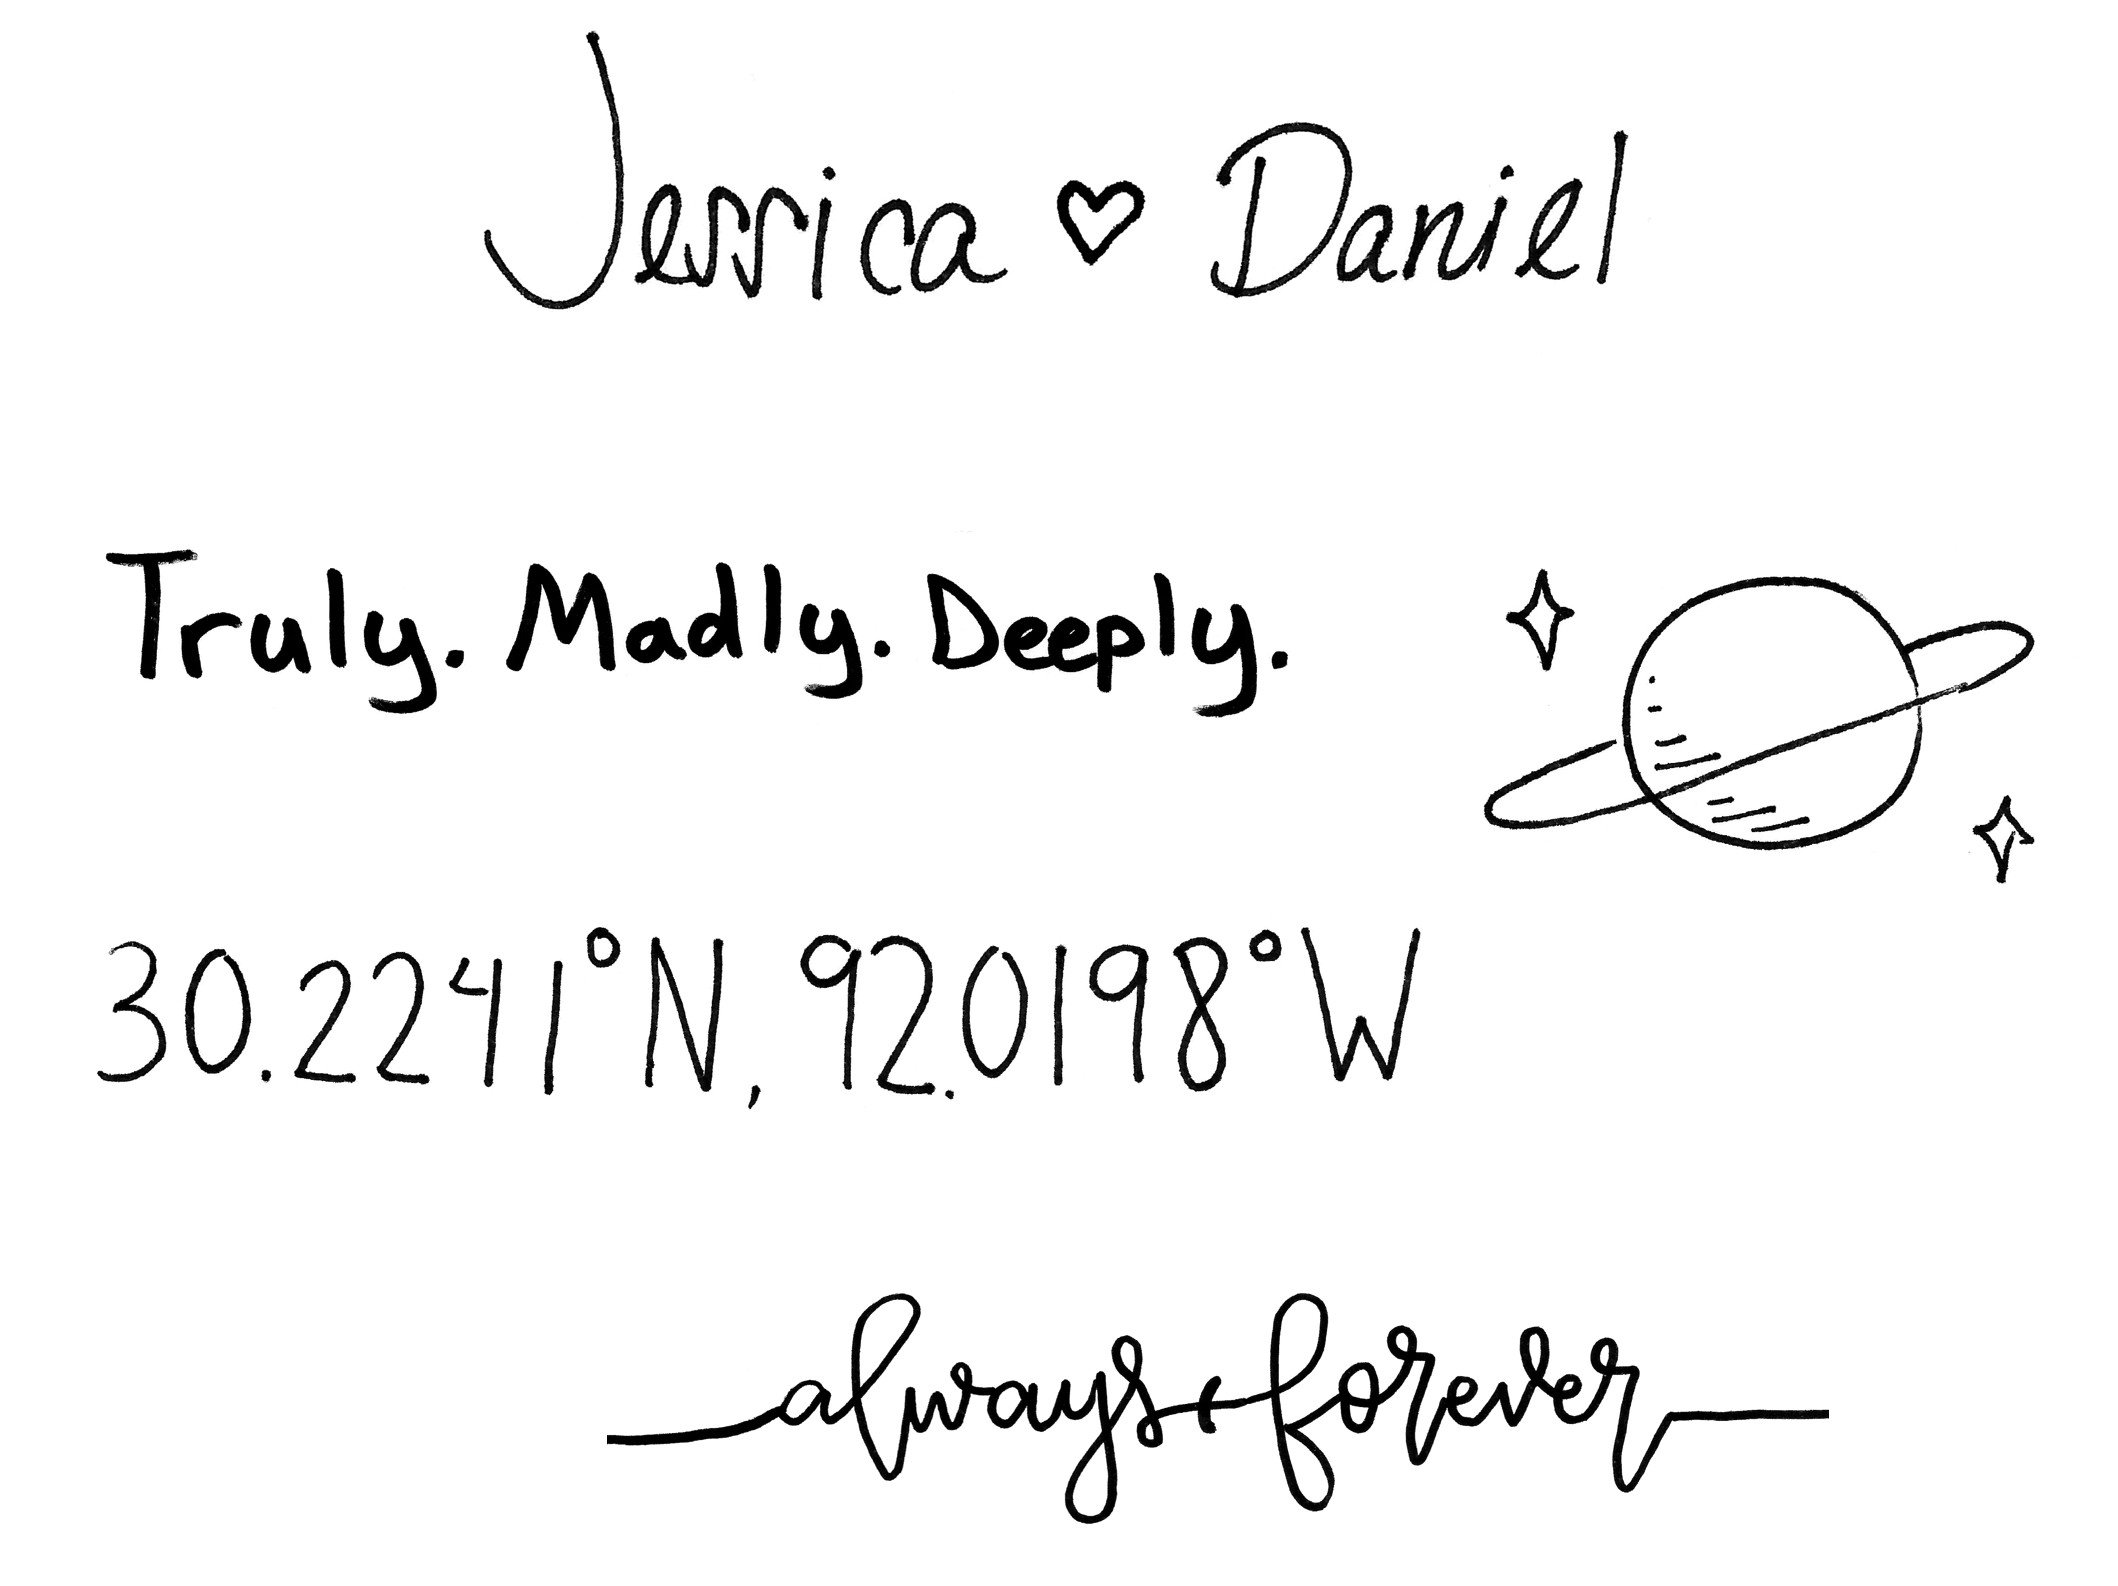
Engravings can be font text or handwritten. Both types are performed using a precision laser. Handwritten engravings can be anything, even your own drawings.
Font Text
Using your choice of font, we’ll engrave any personal message you like.
Example font text engravings
Available font choices
Handwritten
To achieve a handwritten engraving you’ll first need to produce it on paper, then scan it, and finally either upload it to our online shop (when prompted) or email it to us directly.
Example handwritten engraving
Example handwritten scans
Modifications
Example modification to 3C item # 122892:589:P
In addition to our normal build options, our online shop contains a large number of products labelled as 3C Flexible Designs. These flexible designs can be more specifically modified to your liking by contacting us. Note that products identified as ever&ever® are also 3C Flexible Designs.
For example, maybe you have your heart set on a yellow gold head for your centre stone with a white gold shank. The options may appear limited for that specific metal combination but, if you can find a 3C design you like, we can have it modified to achieve your vision. All you need to do is contact us and describe your desired changes.
Original Designs
We can work with you to con·ceive of and refine your own original design, and to have it manufactured in a world class facility in the United States. Here’s how it works.
Step 1: Sketch It
Either by yourself or in consultation with us, the first step is to get your design on paper as a sketch. This step can take time to get right, but once its done we’ll get the ball rolling towards a quote and computer model.
If you’ve somehow already got a computer or resin model, we can pick up from there instead to save you time and money.
Step 2: Computer Model
Once your sketch is sent off, our partners in the U.S. will get to work transforming it into a 3D Computer Aided Design (CAD) model for your review, refinement and approval.
Step 3: Resin Model
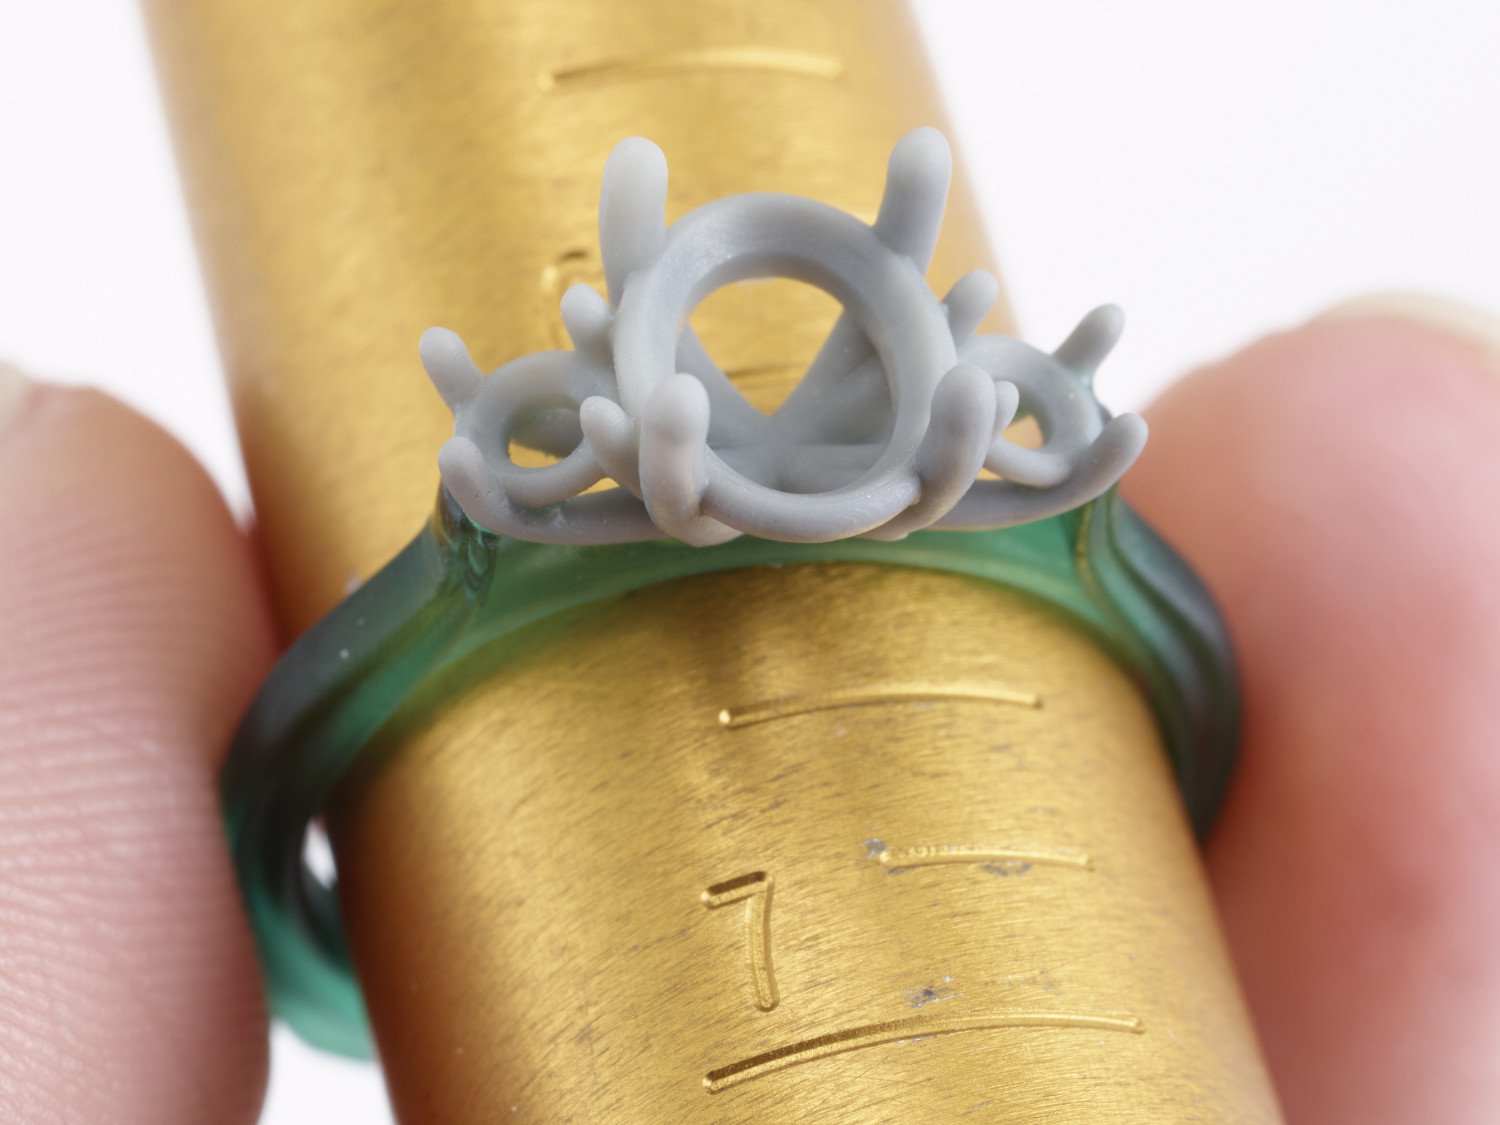
Upon your approval of the CAD model, a 3D printed resin model is prepared and delivered to you as a physical preview of the design. With your CAD and resin models in hand, you’ll have all the confidence you need to green-light the final step: manufacturing.
Step 4: Manufacturing
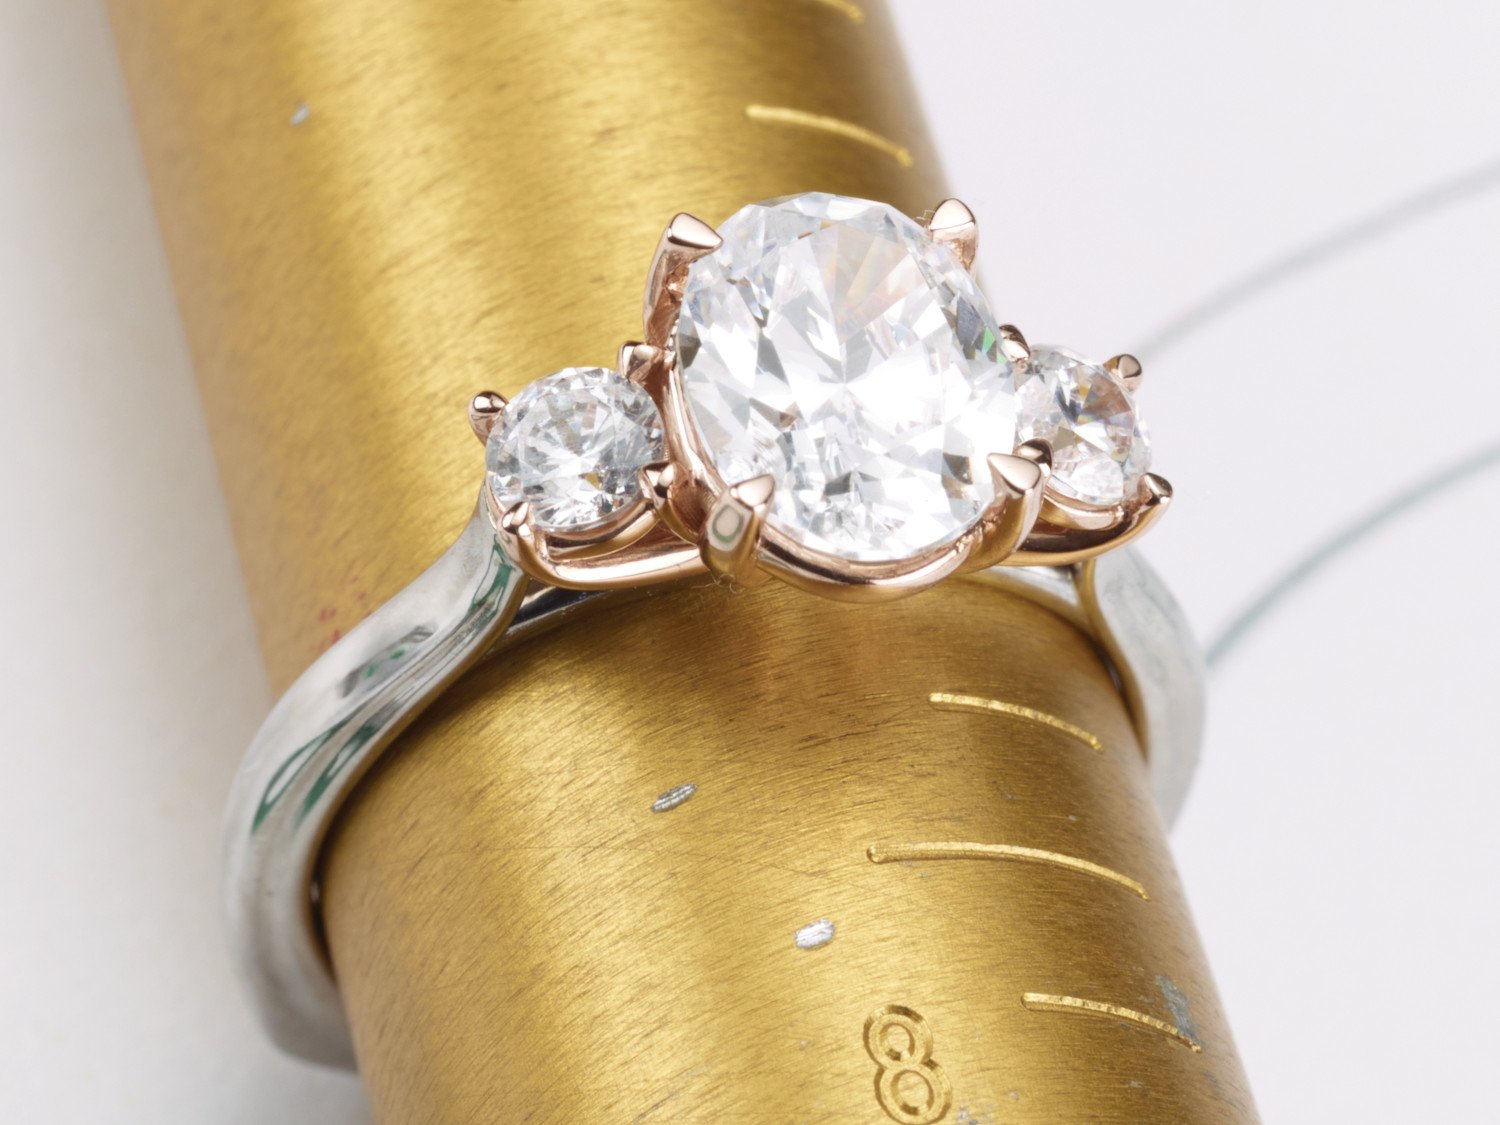
Manufacturing picks up directly from the previous steps. The CAD model you approved feeds a Computer Aided Manufacturing (CAM) process that begins with another 3D printed model of your design, this one intended strictly for manufacturing. This new model is used to create casting molds, which are in turn used to cast your design in the precious metal(s) you’ve chosen. Casts are then hand-finished and hand-assembled as needed, and finally, your stones are set.
Step 5: Final Product
Easily the most exciting (and low effort) step is taking possession of your new original piece!
Share the Journey
The final product may be the crescendo, but the journey matters too. To share it with others (after the fact), we offer a digital or booklet summary of the design process called “More Than a Ring”. It details the journey your ring took, from the CAD rendering, to the wax mold, to the raw casting and the finished piece.
Just want the digital photos? No problem. That costs less.


